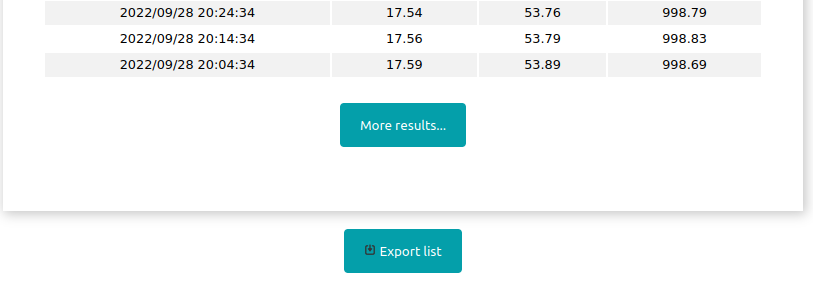

The WebApp showing the measuring points in the Firebase database database that I presented in a previous article and which was in fact built on a project by randomnerdtutorials, includes a table of the collected datapoints that can be shown, hidden and also deleted.
Printing (just roughly)
In case you want to keep this data, there are several ways to print it (and keep as PDF)
You could for instance add a javascript routine like this:
 function downloadPDFWithBrowserPrint() {
        window.print();}

      let btp=document.getElementById("btp");
      btp.addEventListener('click',event=>{downloadPDFWithBrowserPrint();
      });
and add a button in your HTML like this:
<button id="btp">Print</button>
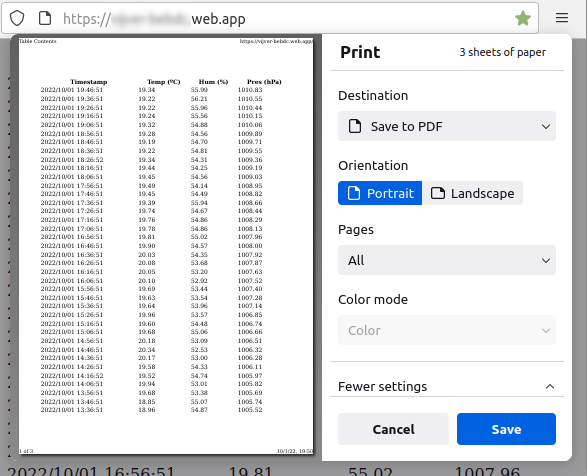
That will let you print everything that is on your screen or send it to a PDF (akin to Ctrl-P on your desktop). But as that includes the buttons an gauges etc) that is not very elegant. There is a better option:
Printing better

Go to your ‘button section’ in the index .html file and add the following button:
<button onclick="PrintTable();">Pretty print</button>
Then we need some javascript. We can add that in the index.js file, or in a separate js file, but for ease of use I will just add it as a script towards the end of the index.html file.
<script type="text/javascript">
  function PrintTable() {
      var printWindow = window.open('', '', 'height=200,width=400');
      printWindow.document.write('<html><head><title>Table Contents</title></head>');
      //Print the DIV contents i.e. the HTML Table.
      printWindow.document.write('<body>');
        printWindow.document.write('<table style="width:100%">')
      var divContents = document.getElementById("readings-table").innerHTML;
      printWindow.document.write(divContents);
        printWindow.document.write('</table>')
      printWindow.document.write('</body>');

      printWindow.document.write('</html>');
      printWindow.document.close();
      printWindow.print();
  }
</script>
The way this code works is as follows: First a new browser window is opened. The code then writes the necessary html tags, up til and including <table> It then usessetElementsById to read the contents of the html element that is identified with “readings-table”. That happens to be the full content of the table that is shown with the ‘View data’ and ‘More results’ buttons. It then finishes the required html and calls for the print function.
There is one drawback in this method. Eventhough the headers are defined with a <th> tag that should print the heading on every page, that does not happen here because the onscreen table is continuous and the to be printed table follows that format.
Exporting to CSV
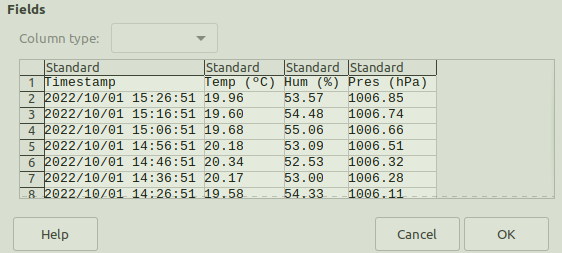
It is perhaps wiser to export the data to say a CSV that can be read by Excel or LibreOffice.
To keep things tidy, I created a new js file in the scripts folder and called it ‘print.js’
To have acces to this file, add http://scripts/print.js to the index.html file. Do this in the section “INCLUDE JS FILES”.
While you are in the index.html file, add the following button:
<button onclick="exportData()">
    Export list
</button>
This creates a button that calls a procedure ‘exportData()’. That procedure is put in the ‘print.js’ file created earlier. It looks like this:
function exportData(){
    // Get the HTML table using that id in the <table> tag
    var table = document.getElementById("readings-table");

    // Declare array variable 'rows'
    var rows =[];

      //loop through the rows
    for(var i=0,row; row = table.rows[i];i++){
        column1 = row.cells[0].innerText;
        column2 = row.cells[1].innerText;
        column3 = row.cells[2].innerText;
        column4 = row.cells[3].innerText;


    // add records to the array
        rows.push(
            [
                column1,
                column2,
                column3,
                column4,
            ]
        );

        }
        csvContent = "data:text/csv;charset=utf-8,";
         // set the field and record delimiters
        rows.forEach(function(rowArray){
            row = rowArray.join(",");
            csvContent += row + "\r\n";
        });

        /* create a DOM node (<a>) and set the needed attributes
        var encodedUri = encodeURI(csvContent);
        var link = document.createElement("a");
        link.setAttribute("href", encodedUri);
        link.setAttribute("download", "FirebaseData.csv");
        document.body.appendChild(link);
        link.click();
}
This function will only download the parts of the table that are made visible through the ‘View all data’ button. It is best to place the ‘Export button’ within the id=”table-container” tag section (meaning in between the tag and the endtag), so it only will be visible when you make the table visible.
Thank you for doing this
My pleasure. I hope you can make good use of it